
I’ve traveled all over the midwest looking at some of the nicest restomods. What have I learned…people have invested a lot of money in their audio systems. And, they experience a lot of frustration with these systems. As a result, I took these experiences and combined them into the 5 Key Audio System Mistakes To Avoid With Restomods.
1. Gain Control
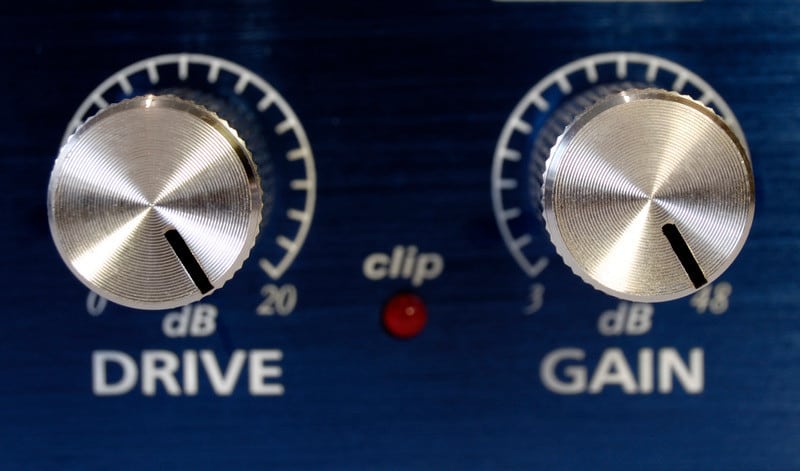
The very most common mistake I see make is people is they just don’t understand what a gain control is or how to use it correctly. An amplifier gain control (input sensitivity) is simply a level-matching device allowing you to match an amplifier’s input circuit to a source unit’s (or digital signal processor) output. Ideally, gains are set so an amplifier’s output “clips” at the same time the source unit “clips.”
Unfortunately, many people simply think of the gain control as a volume knob. It’s absolutely not a volume control but I understand how it appears to be one at some basic level. The point here is people think the gain at 50% is only half the power. That’s simply not true. Setting the gain incorrectly is easily the biggest issue with broken or blown equipment.
When the gain is too high the amplifier will clip which can damage the amplifier and speakers. Setting it too low is also a problem as it holds the amplifier back. So, here is a simple best practice to follow when adjusting your gain:
- Turn the radio 3/4 of the way up
- Then, adjust the gain until you hear distortion
- Next, dial the gain back just a bit
Yes, there is a significantly more advanced way of handling the gain setting. For now, though, this simple adjustment will fix the lion’s share of the distortion issues and help you avoid a key audio system mistake.
2. Incorrect Subwoofer Size
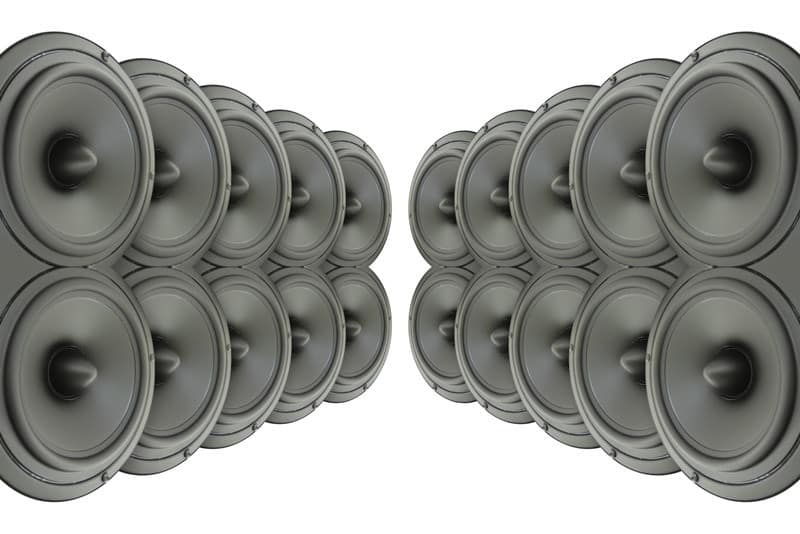
Using a small subwoofer in the appropriate space can actually outperform a larger subwoofer in an incorrect space. The best way to choose a subwoofer is to simply measure the space and then look for a size-correct subwoofer.
Another mistake people make is they will research the volume of the trunk from the manufacturer. Then, they assume that is the space they have to work with and that’s simply not true. The manufacturer’s space or volume was based on filling it with water.
There are a lot of ways to add a subwoofer to your system. The one you should buy will be a combination of your musical preferences, budget, and how much space you have.
Subwoofer Considerations (high-level)
- Power. There is no substitute for power to a subwoofer. Focus on the RMS wattage.
- Sensitivity. A subwoofer with high sensitivity requires less power to achieve high output.
- Frequency Range. This essentially tells you how low a subwoofer can play.
- The Number of Voice Coils. Dual voice coils are a favorite of more advanced audio enthusiasts. The main reason is the flexibility in wiring these subwoofers provide.
- Subwoofer Size. This is the main focus area for a lot of audio enthusiasts no matter how much experience they have. Modern subwoofers are able to handle very high amounts of power and produce extreme lows. That said, if you want a pair of 15-inch subwoofers, then have at it.
- Impedance. While trying to keep this high level, just know that subwoofers come in 2, 4, and 8-ohm impedances. Try to match your amplifier to your subwoofer configuration.
3. Poor Quality Music Source

Generally speaking, people do not understand what is a good or bad music source. There is an old saying, garbage in and garbage out. This is very true with car audio. I see these incredible no expense-spared audio systems in heavily restored and modified cars. Then, I hear the restomod owner disappointed playing classic rock with their 8-year-old iPhone.
To be clear, we aren’t judging the genre of music (i.e. country, rock, rap, etc…). Rather, we are talking about sound quality. Specifically, the issue here is using poor quality sources of music. For example, an MP3 player plays music that has actually been compressed – meaning it’s missing information. Good audio files should be 320kb/s.
A lot of people have heard of HD radio but not enough people are leveraging it or frankly even understand it. The first thing to know about HD Radio is they DO NOT compress audio which is HUGE for sound quality. The radio experience is highlighted by the more robust sound and cleaner and deeper bass notes. And, the price? How does free sound?
Key Takeaways: Poor Music Quality
Be careful about playing compressed music and realize it’s limiting the quality of sound your system produces. Practically speaking, I highly recommend Tidal which is a music service that allows higher resolution streaming.
Tip: A digital to analog converter (DAC) converts digital data (0’s and 1’s) into analog music signals. In most cases, as we said above, you probably store your music on a smartphone. The music on a smartphone sounds fine on earbuds but not on a powerful audio system. So, check your head unit specifications as you can likely plug your smartphone directly into the source via a USB cable. The benefit of this approach is you can bypass your DAC completely. Not convinced this matters? Try it and let me know.
4. Poor Quality Equipment
Everyone has a budget. A relatively simple system can still cost a fortune if you buy the highest quality equipment. While an incredibly complex system can be quite cost-effective if you buy flea market equipment. So, what will sound better? Well, it’s hard to say based on a variety of factors. The main point here is that equipment quality does play a role in good-sounding audio systems. However, the goal of your system is truly going to define if it sounds good to you or not. And, the budget won’t impact sound quality as much as doing things correctly will.
To be clear, there are diminishing returns when it comes to car audio. If something seems too good to be true, it probably is. Let’s take amplifiers for example. Max wattage means NOTHING yet inexperienced audio enthusiasts make the mistake of buying these products with outrageous wattage claims. To truly compare amplifiers I recommend you look at the continuous power or RMS watt rating.
The best way to purchase good equipment is to have a goal for your audio system. Then, research a number of vehicles similar to yours and see what products they’ve used. Or, you can always go to a professional installation shop and get their advice.
I am quite keen on a couple of different companies (i.e. Audio Control) that I’ve used for a long time and tend to stay with their products. However, I know full well, that there is a lot of good equipment that sounds great when people avoid the 5 key mistakes with car audio as outlined in this guide. So, don’t overspend just for overspending’s sake.
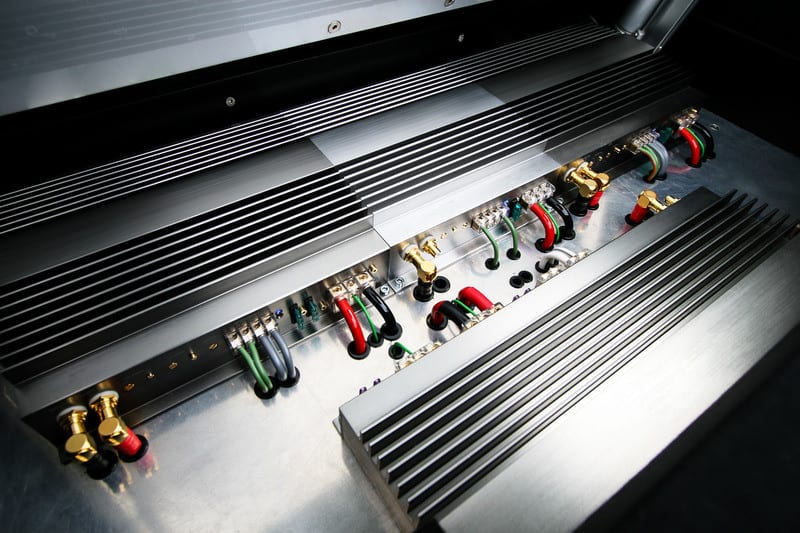
5. Disregard Electrical System

A common term amongst car audio enthusiasts is the ‘Big 3.” The power system needs to be upgraded when installing a car audio system and this is an approach to accomplish that. Basically, the “Big 3” refers to the replacement or upgrade of three key cables in the electrical system with 1/0 or 4 gauge wiring. Specifically, the battery ground to chassis, the chassis to the engine block wire, and the alternator plus to the battery plus.
Once you’ve effectively replaced the wiring under your hood you can take a more strategic look at the electrical system, if need be. Start with the power plant which is the alternator. You can always add an additional battery. At that point, if you’re still having some symptoms of electrical issues, then you can add a stiffening capacitor (cap). For more detail on this topic, I recommend The Ultimate Guide to Upgrading The Audio System In Your Restomod.
High-Level Electrical System Best Practices
First off, keep in mind the alternator is the true source for your vehicle’s current when it’s running. Yes, the battery starts the engine, but the alternator takes over immediately thereafter. Now, in the event that the alternator needs more power a second battery can be leveraged to fill the gap. If you want to play the audio system for longer durations without the car running, then a second batter is almost a necessity.
A stiffening capacitor, often called a cap, can help with things like dimming lights. And, a cap can help dashboards and other systems get instant power when needed. However, that is virtually the only real purpose they provide. I often see people install several stiffening capacitors while there is a low output alternator and a single battery. Understanding the electrical considerations covered in this guide, even though they are high level, can absolutely help your audio system.
Conclusion
Car audio systems are complex to build. While anyone can simply buy a lot of gear, just like an engine, a car audio system needs to be tuned. All pieces need to work together properly in order for it to reach its full potential.
The reason for this 5 Key Audio System Mistakes To Avoid with Restomods article is because throwing more money at the car audio system doesn’t always work. Rather, taking a step back and refining the car audio installation is a useful thing to do and highly recommended.
Extra Credit
Ok, we’ve spent a lot of time talking about how to avoid key mistakes. However, there are a few other mistakes being made that are worthy of discussion. There are not nearly as significant as the top five mistakes to avoid. However, they are worth a quick read.
Sound Deadening Material
Leveraging sound-deadening material does a couple of things for your car. First, it helps to deal with the many vibrations cars experience as they travel down the road. This is why your car sounds so good in a parking lot and so challenged while cruising around town.
The other advantage of sound-deadening material is it helps to lower the interior noise of the car’s cabin. Traveling on a major highway will illustrate this point most clearly. The basic tenet is road noise masks lower frequencies. So, sound-deadening material will help reduce road noise.
When you reduce the vibrations in your car. And, if you reduce road noise, your system will have to work a lot less hard for you to hear and enjoy it. Moreover, the system will simply sound better and reach its full potential.
Tone Controls
Car audio systems can be very complex. Things like imaging, spatial correction, and proper tuning are all important. However, turning your bass, treble, and mid-range levels all the way up really doesn’t really help the car audio system. In fact, it can be quite the opposite.
To a certain extent, these adjustments might sound great in your driveway. However, when the car is moving, it usually just adds distortion. Without going into too much detail, the general idea is the less tonal adjustment made the better. Small tweaks, like turning the bass up a small amount and offsetting these highs by an equal amount may work.
Simply put, do not touch these controls while driving, which most people do, and rarely does it make a favorable difference anyway. Moreover, it’s quite dangerous to be tuning your car while driving. (Admittedly, I probably wouldn’t have taken this advice as a teenager either but I had to try.)
Digital Sound Processing/Equalization
The interior of a car is a horrible place to listen to music. Reflection is a major problem and glass and plastic do not help this problem as they are highly reflective. At the same time, carpet, seat covers, and other materials absorb sound. These two things, coupled with out of the way speaker installs lead to frequency response peaks and valleys in most cars.
A typical tonal control of a head unit, especially a factory radio, is bass, treble, and perhaps mids. While an equalizer will give you multiple points for adjusting frequency response. Thus, you have more control to manage those peaks and valley frequencies. A digital sound processor also helps you deal with peaks in frequency response. Some even are equipped with microphones to help assess your car’s acoustics.
A quick guide to leveraging an equalizer or digital sound processor is this. Set everything flat and tweak one or two settings at a time. Be patient as tuning a car can take a very long time. You can do this over multiple days if need be. The idea is if something is missing, or there is too much of any one thing, adjust it until it sounds right.
Related Questions
To keep things simple, you’ll want one amp for all the speakers in the car, which means you’ll need multiple channels on the amp and each channel drives one speaker. Since most cars have four speakers, I recommend a five-channel amp. Four channels for the front and rear speakers and one mono-block channel for the subwoofer(s).
No, not if the car is running as long as the alternator is charging properly and is sized correctly to provide enough amperes. The battery will only drain when the amp is being used with the engine switched off.
Yes, if your sound system demands more power than your stock alternator can supply, then you will benefit by upgrading to a higher output alternator. A 250 or 300-ampere aftermarket high output alternator should provide enough power for all your car’s systems. The formula for this calculation is watts/voltage=amperes. Be sure to add system amperes needs to this number.